Feature
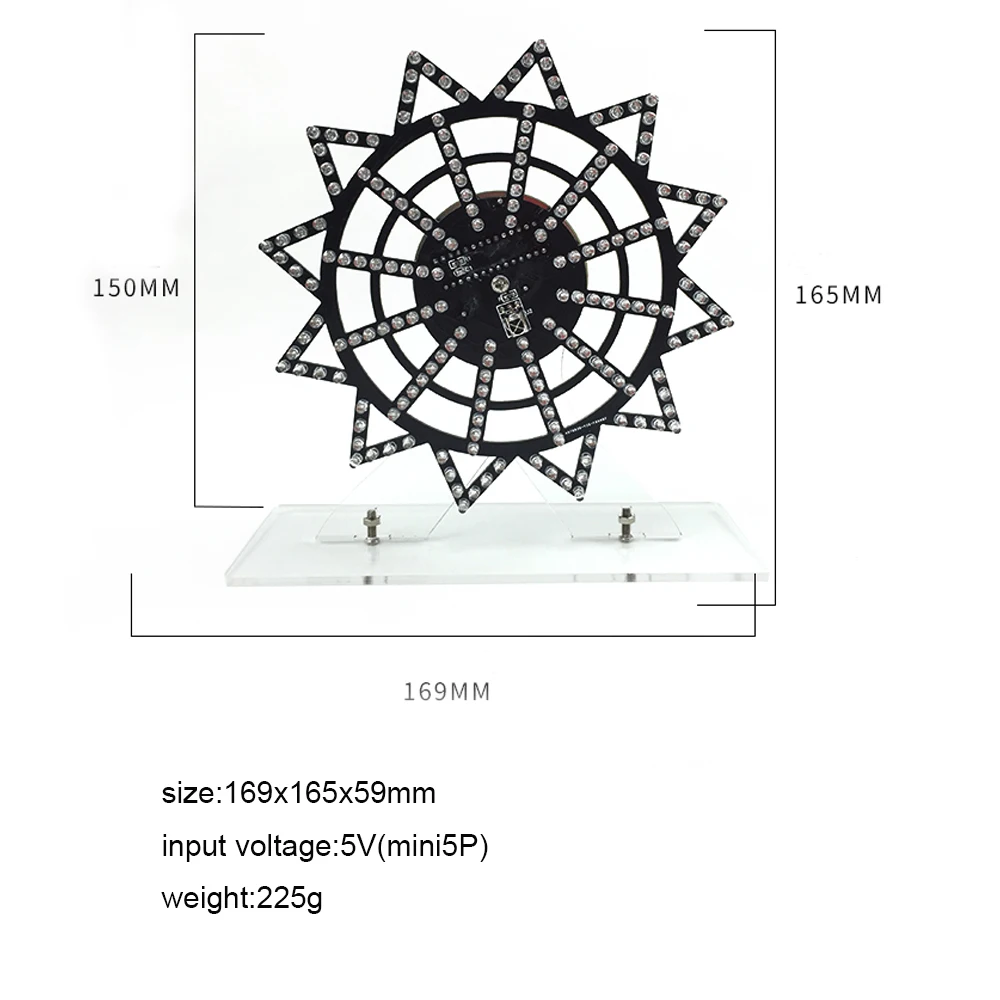
1.input voltage:5V
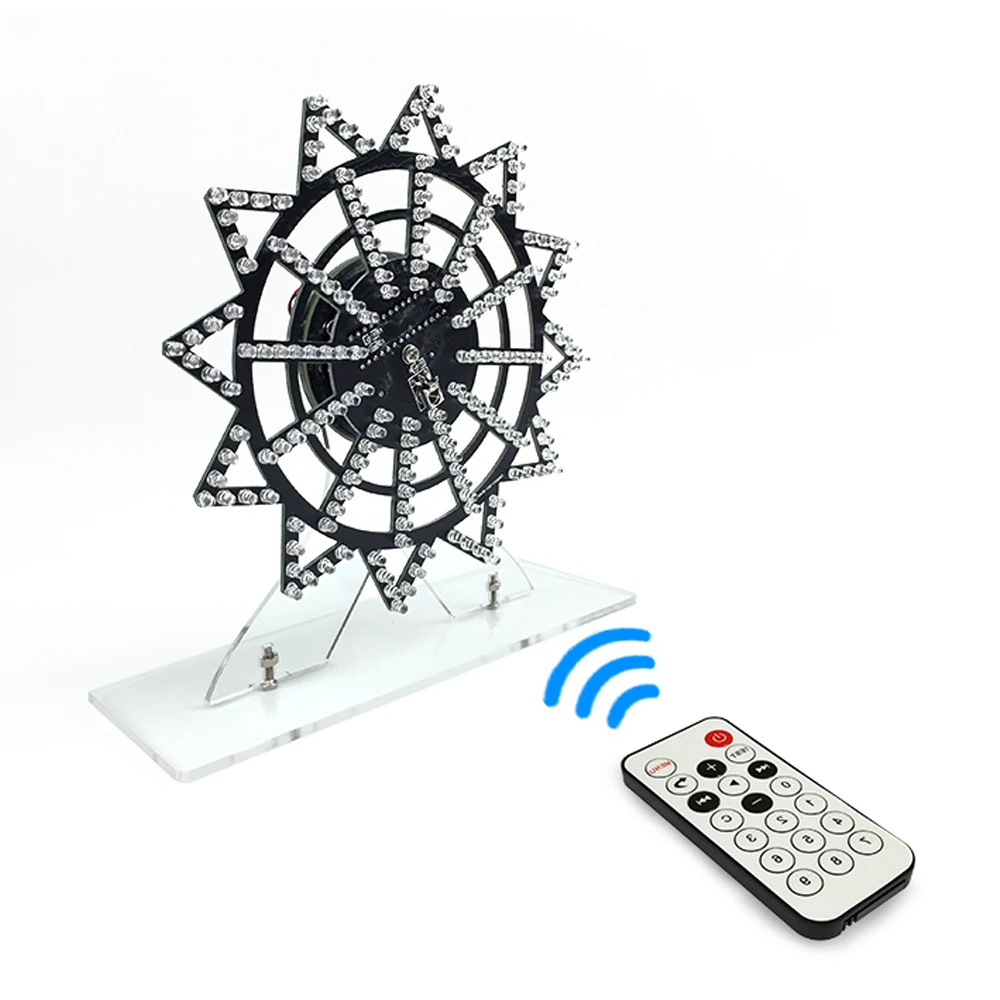
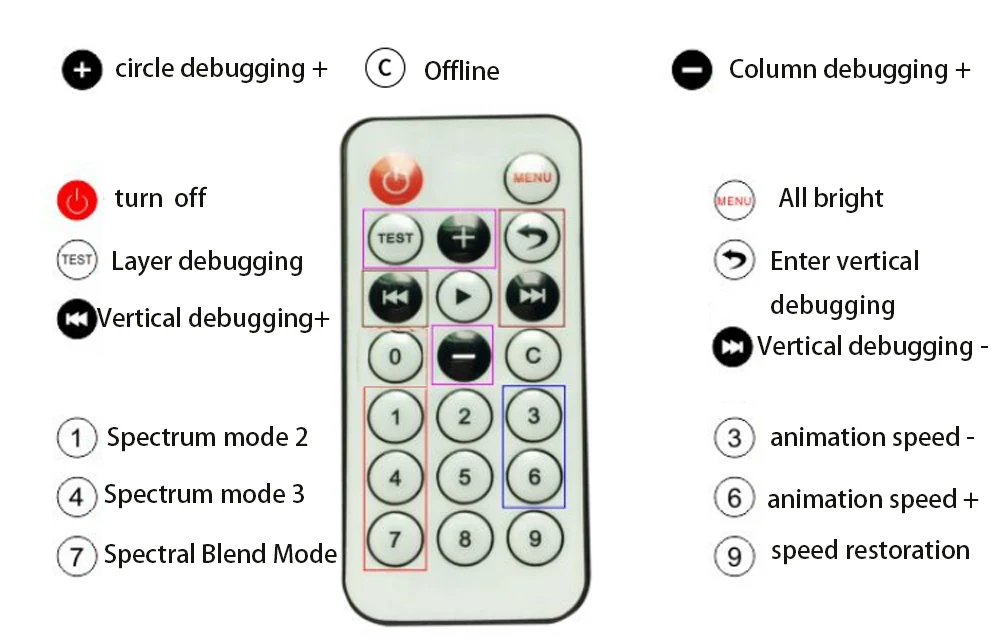
2.remote control function:
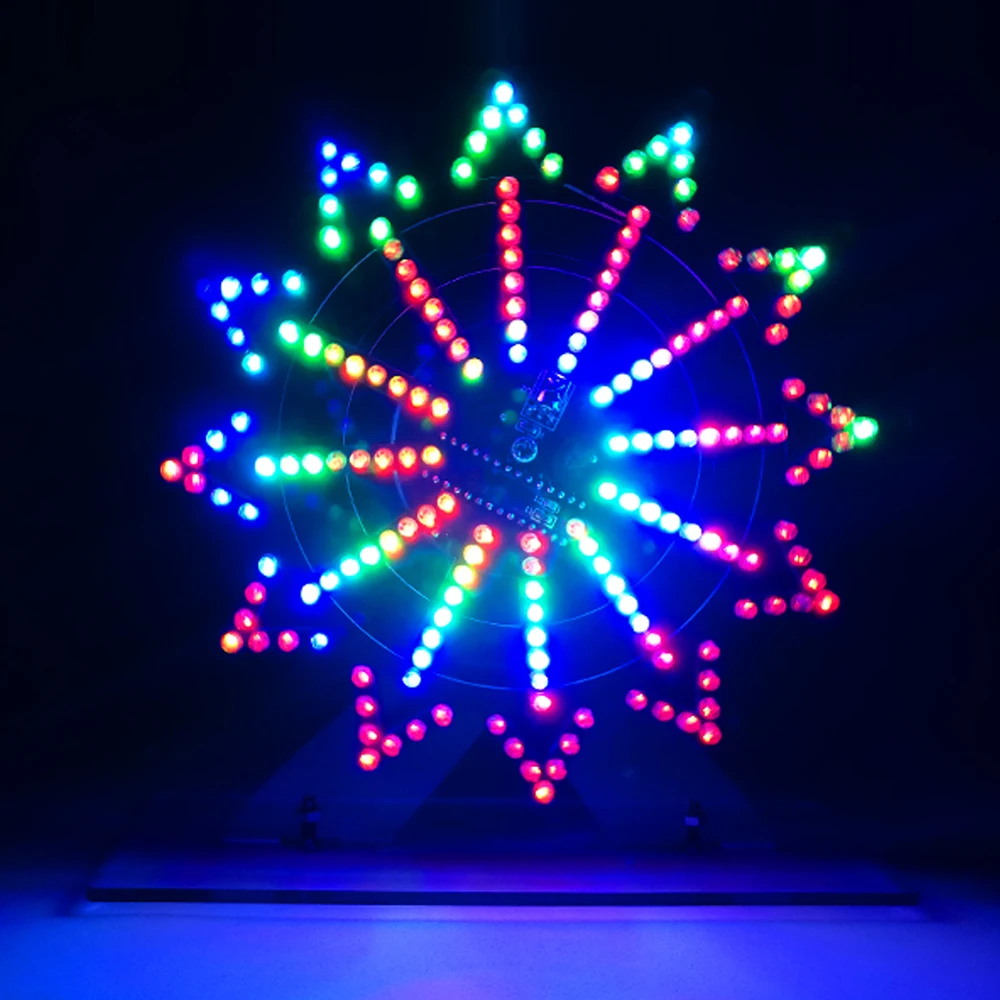
flash speed: press TEST-( 3+)( 6 -)
Flash mode: press 1/4/7
Caution!!
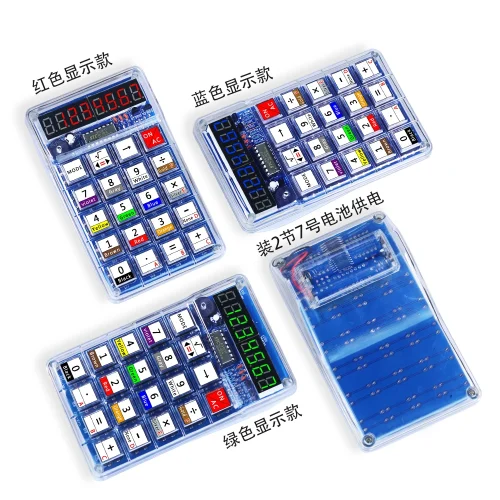
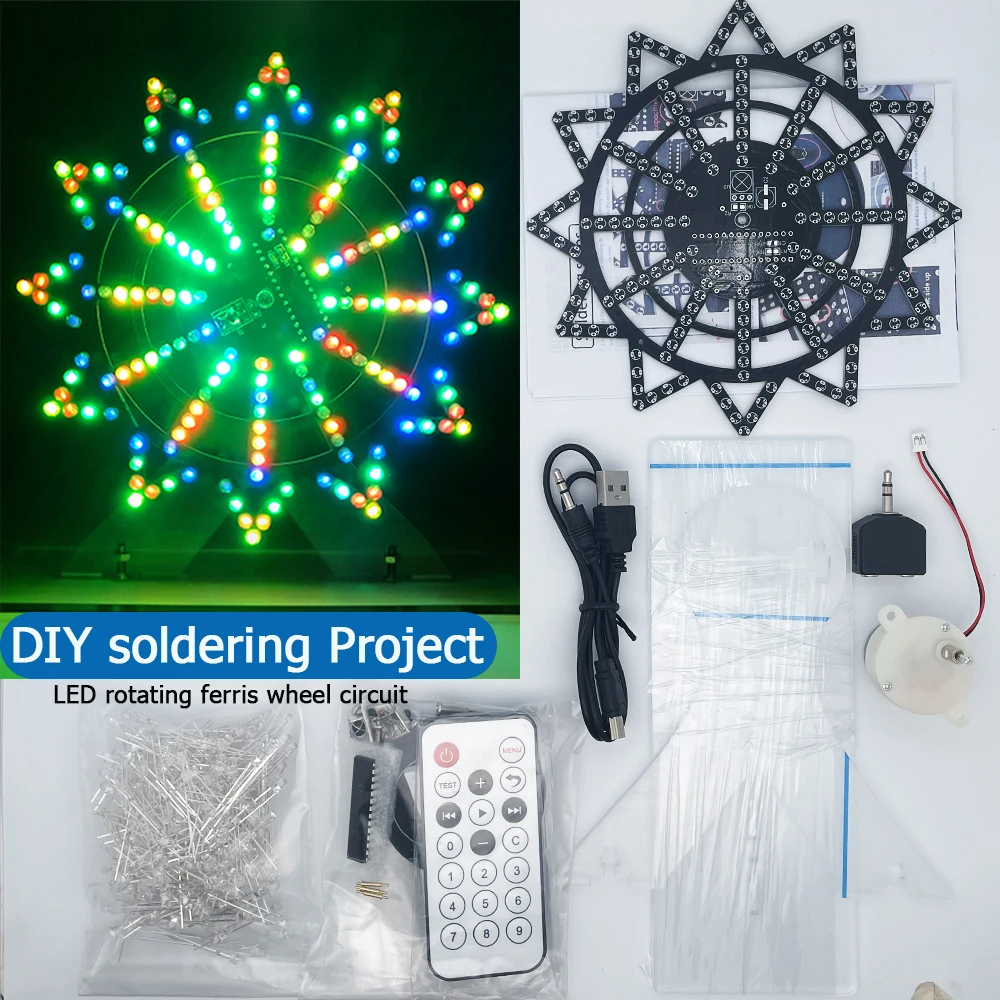
1. this is DIY electronic soldering kit for hobby beginners to learn and practice
welding , not finished product !!! not assembled Please understand it!
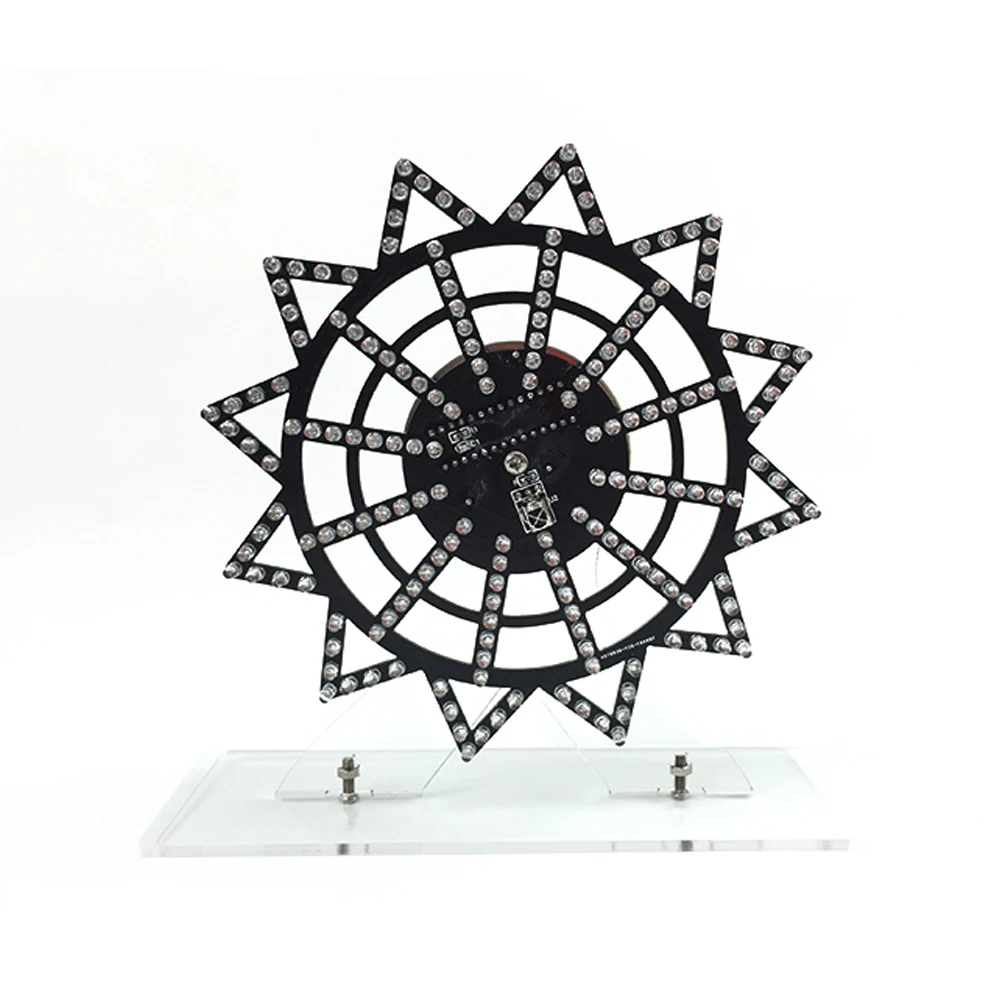
2. The diameter of the PCB just SAME as decribe 15cm!
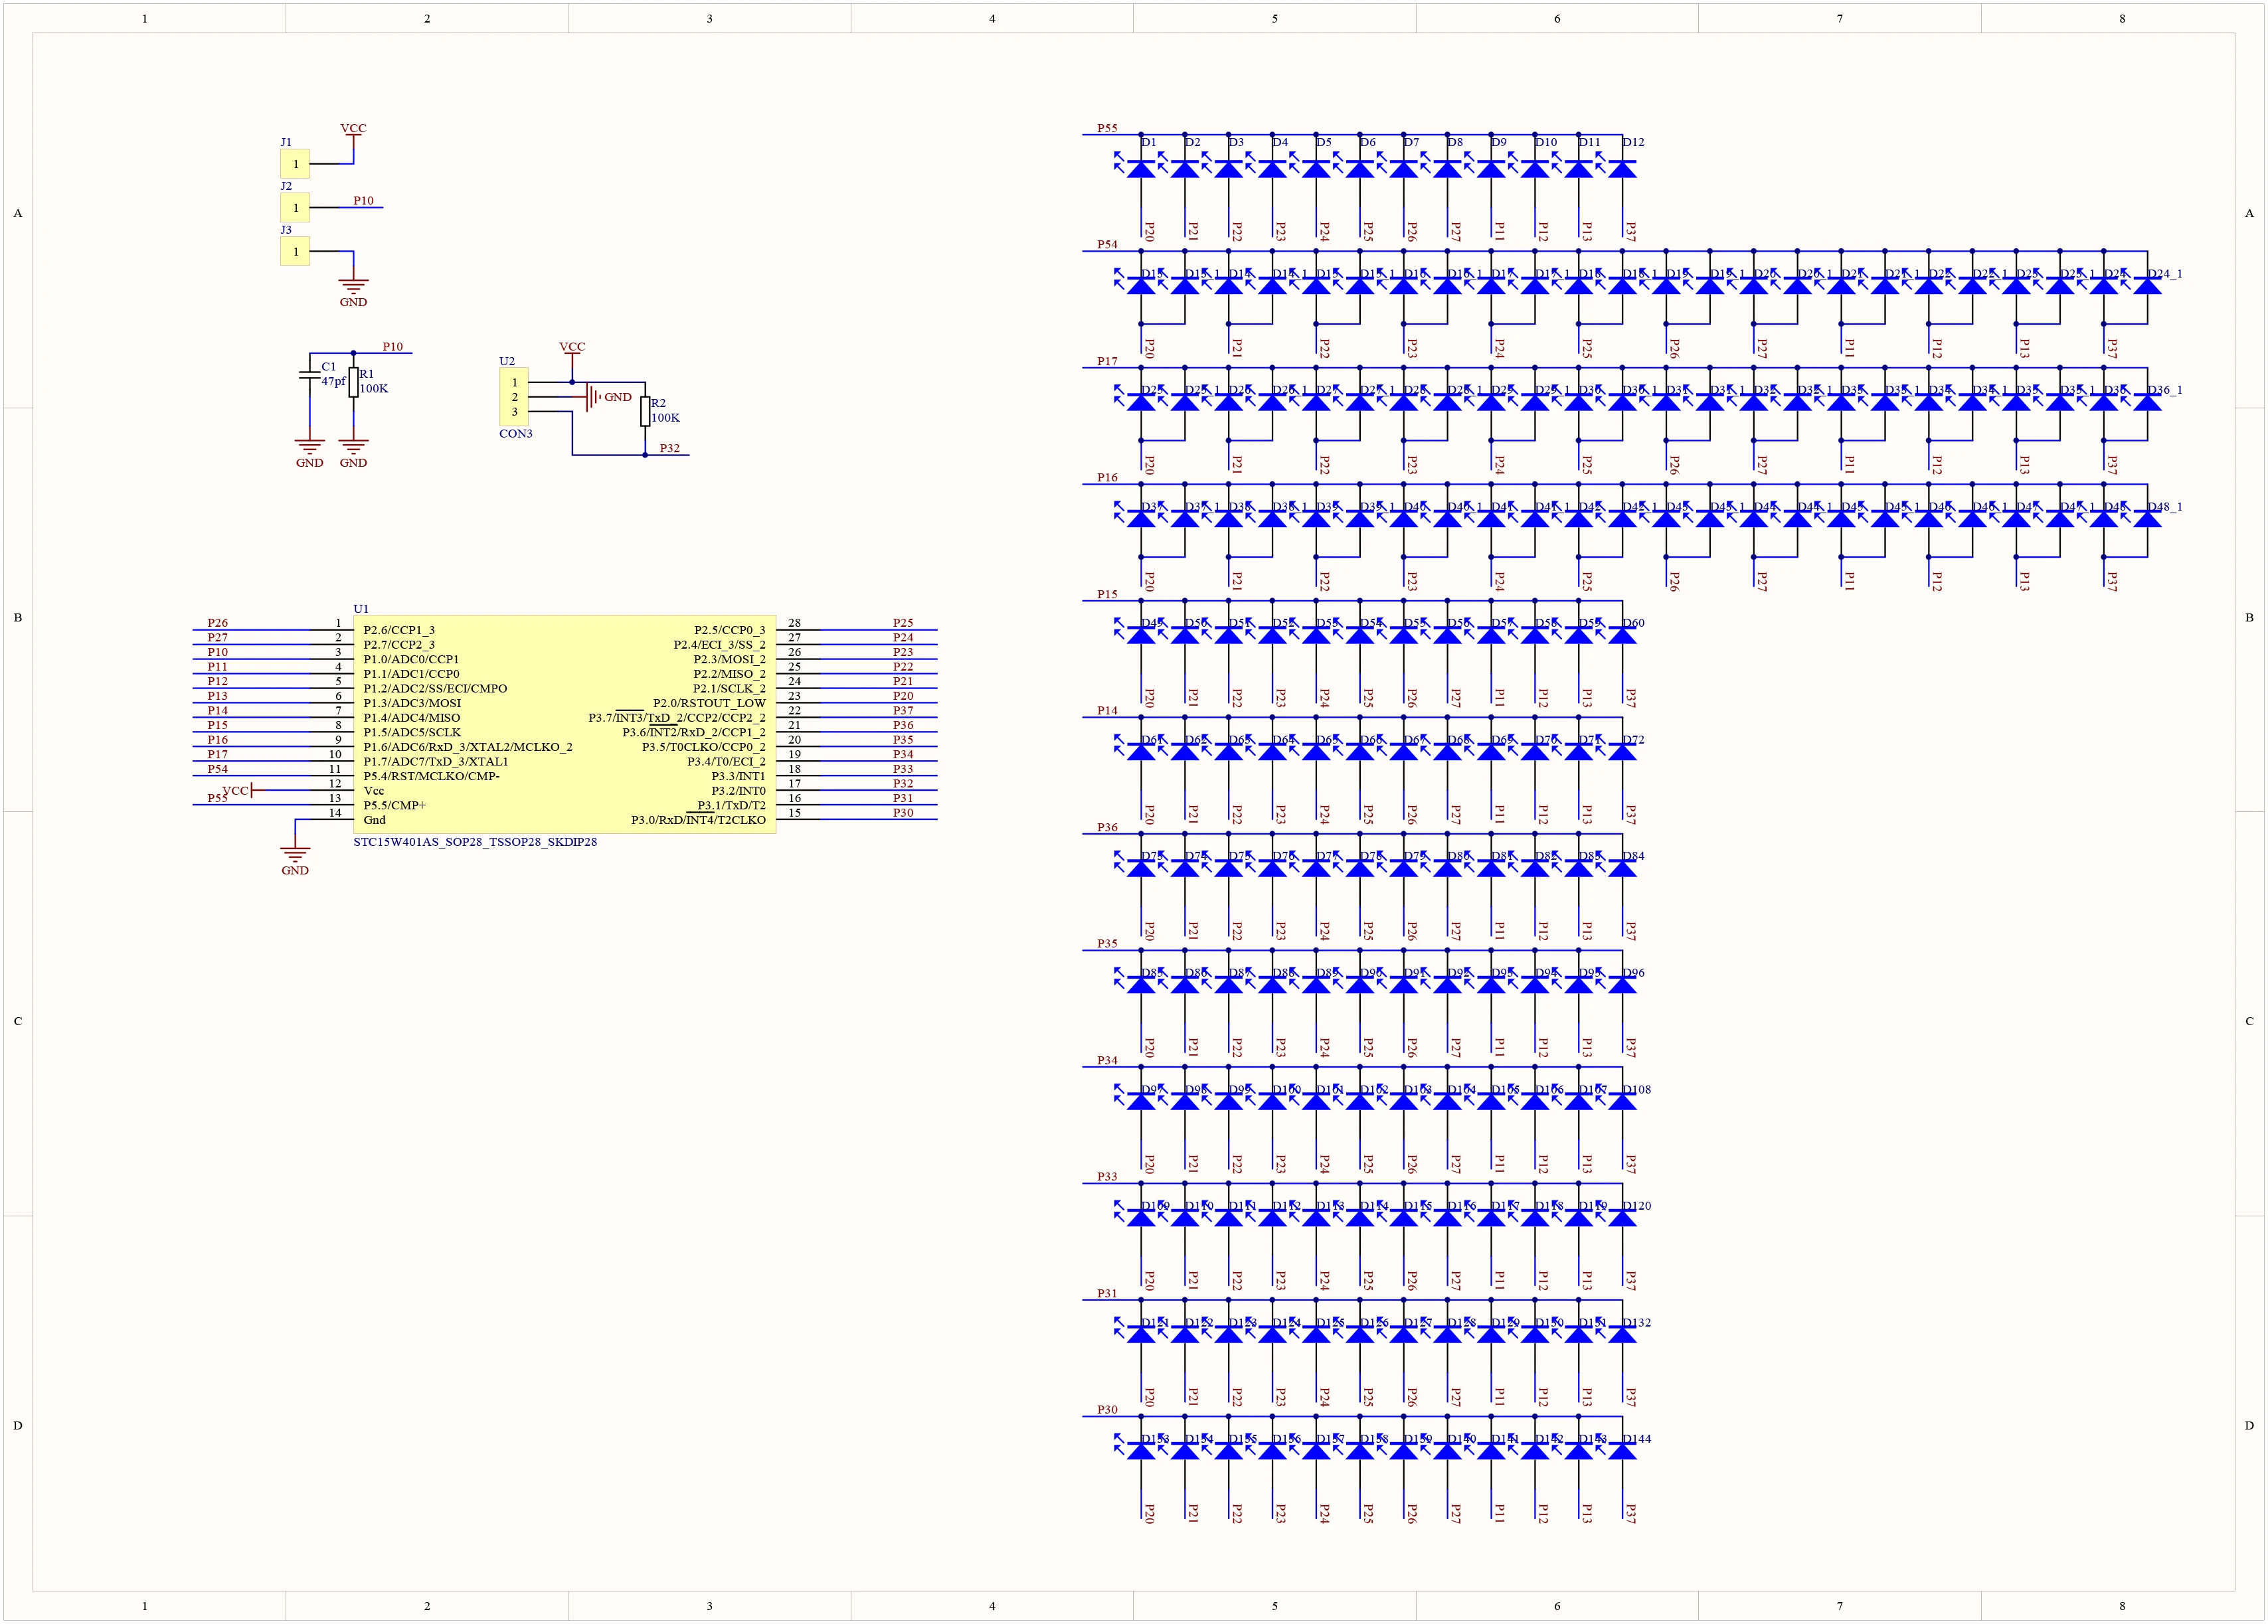
3.INSTRUCTIONS!!! Component list,circuit diagram ,welding steps,in the bottom of this page ↓↓↓↓!!!!
Suitable for electronic DIY hobby beginners to learn and practice welding.It is widely used in schools to help students learn basic mechanical and electronic skills.




Installation tutoria:
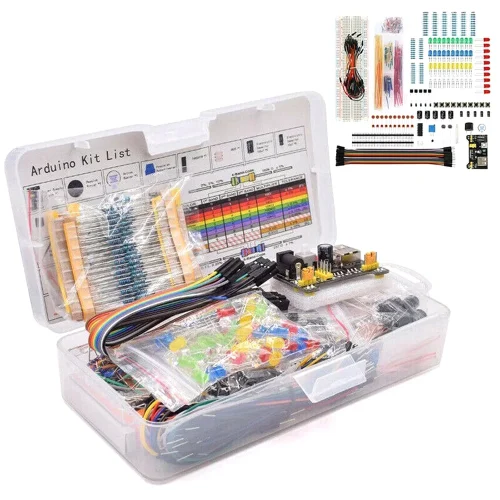
Tool
1.Electric soldering iron with about 35w power
2.Soldering tin
3.Tweezers
4.Electronic pliers
5.Screwdriver welding
Steps:
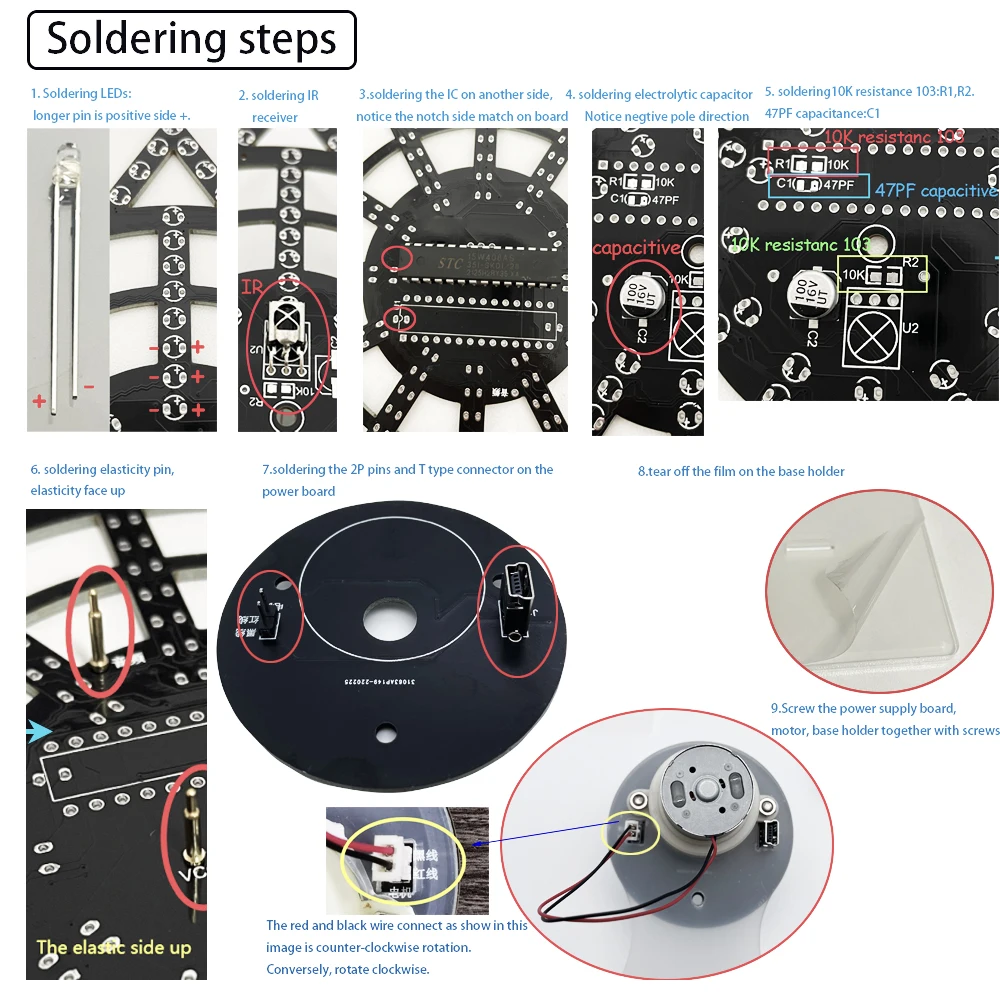
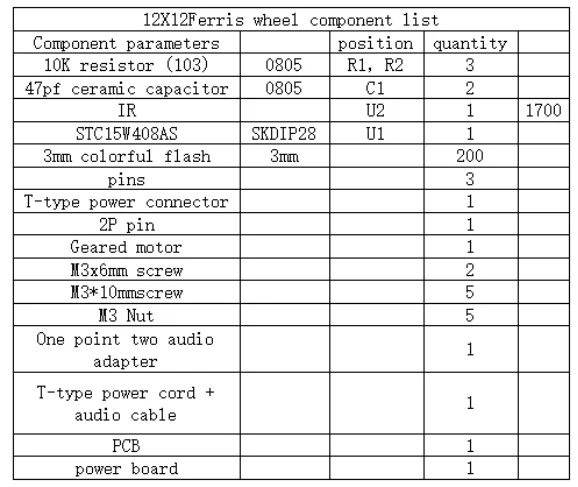
1. Solder chip resistors and capacitors (no direction)
2. Weld plug-in led (note the direction)
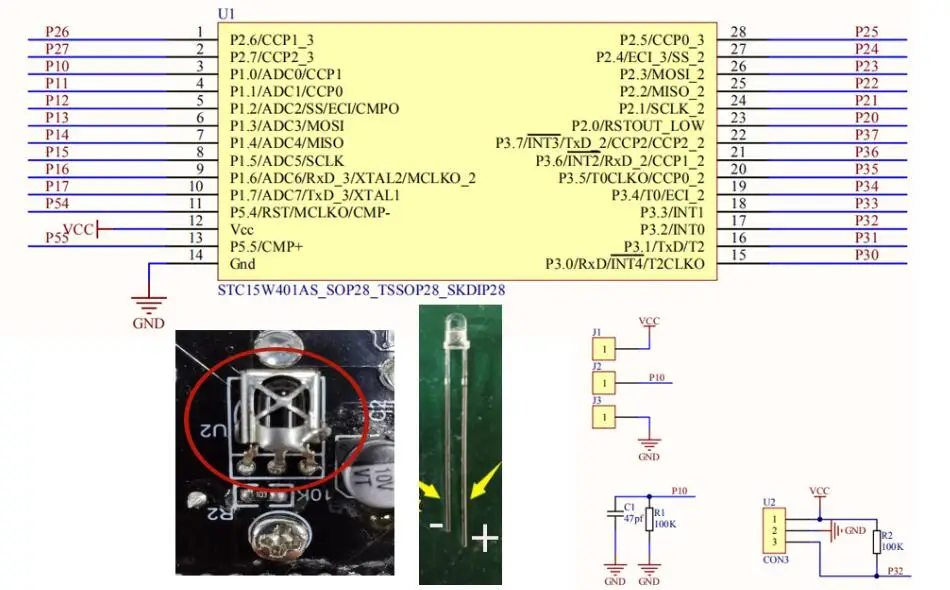
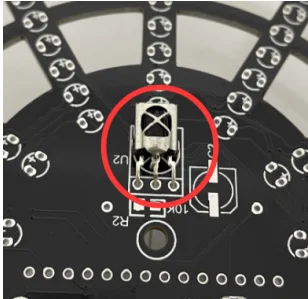
3. Weld infrared Receiver (note the direction)
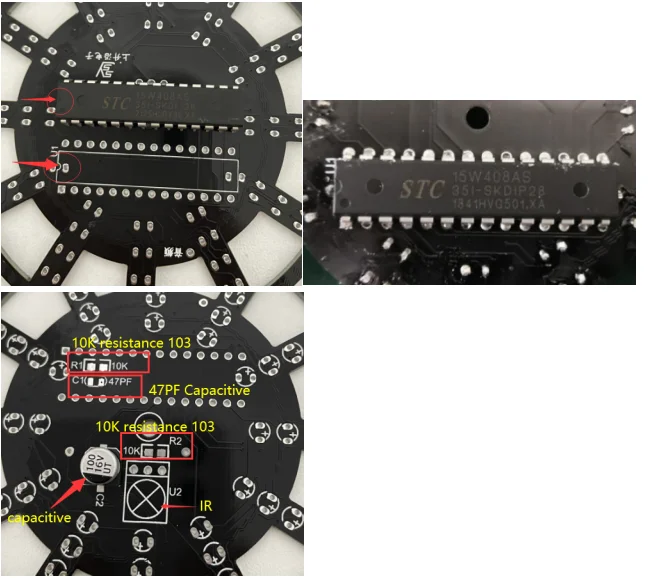
4. Weld the MCU (note the direction)
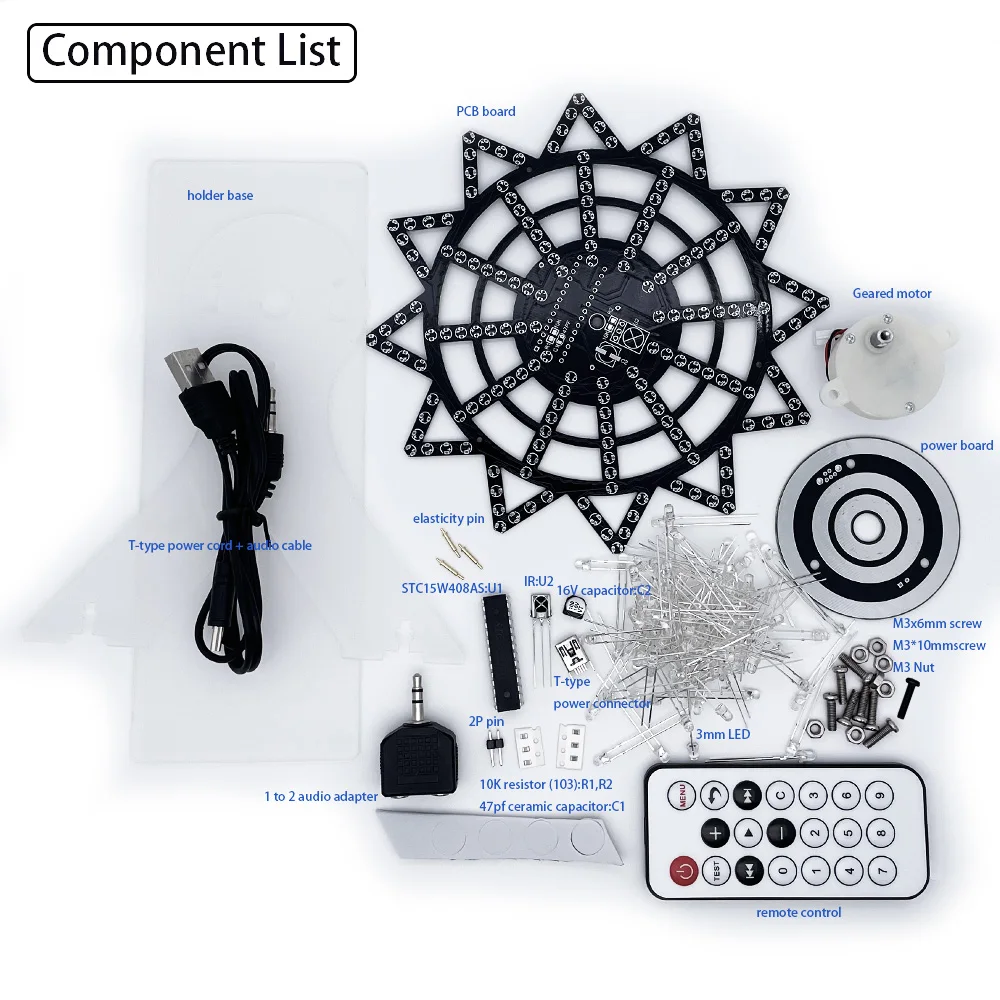
5. Weld the thimble (note the direction) Weld the chip resistors and capacitors, these two components have no positive and negative poles, use tweezers to clamp the welding when welding, R1, R2 welding 10K resistor (the word 103 is written on the resistor), C1 is soldered with a 47pf capacitor. (No direction) C2 welding 220uf electrolytic capacitor (note the direction)
1.Welding the led, the led has a positive and negative pole, the long lead of the led is the positive pole, insert the pad with the + sign on the circuit board tightly, it is recommended to plug the led in and press it and then weld, so that the led is relatively neat, two when welding the led The pins are soldered separately, and soldering together will easily cause the led to burn out.
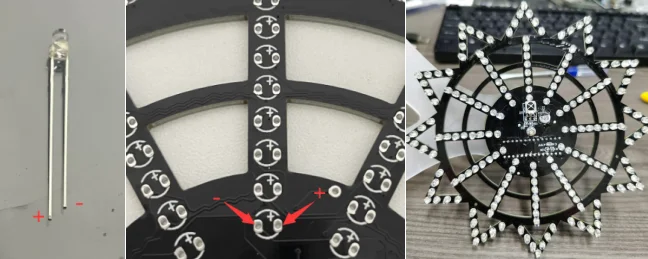
2.Solder the infrared receiver, bend the component pins 90 degrees and solder.
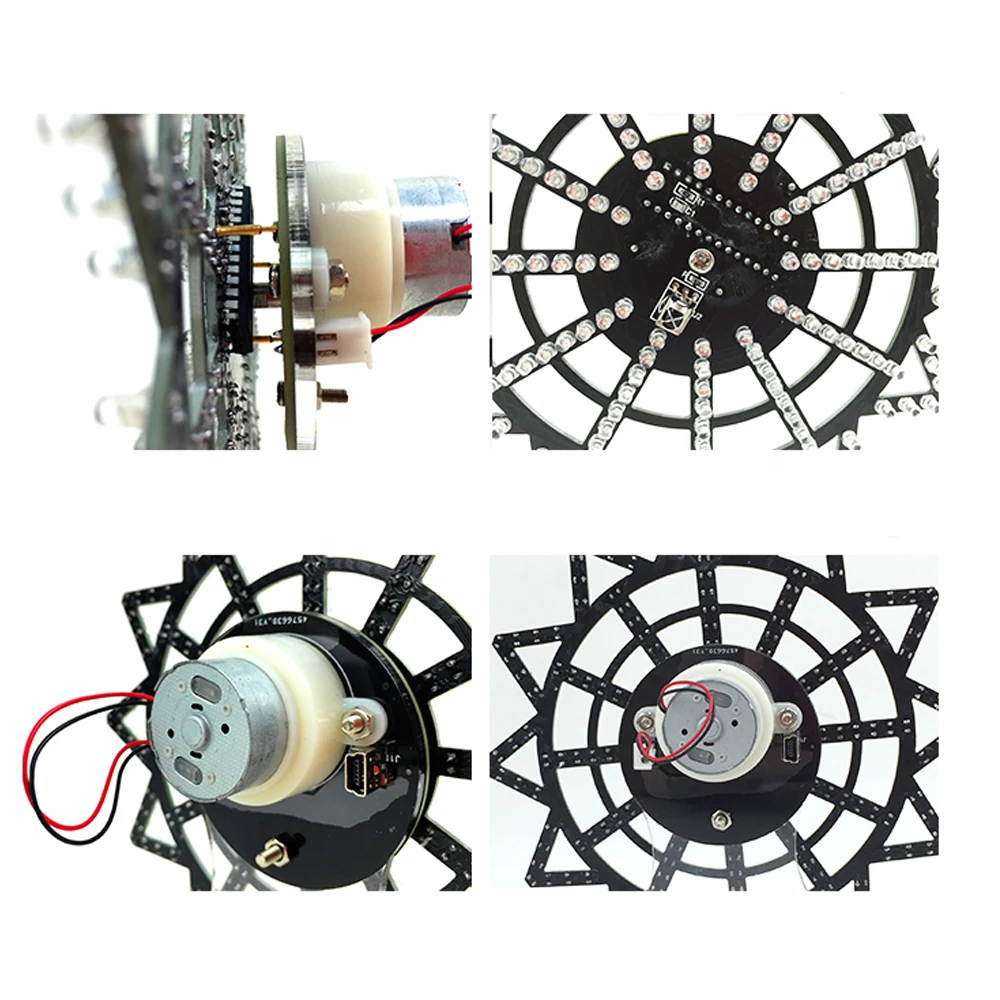
3.3.Solder the chip, insert the recess of the chip corresponding to the recess of the printing silk, do not short-circuit each pin of the chip during soldering, (determine the direction before soldering, the chip cannot be removed by wrong soldering, and the whole board is scrapped)
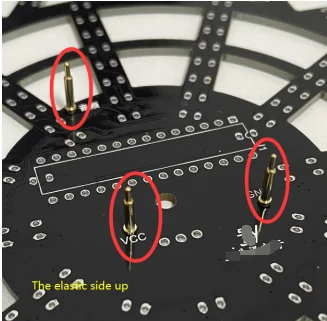
4.Soldering the thimble, the thimble must be completely pressed against the circuit board, and not crooked (note the direction, and the chip is in the same direction)
5.The power supply board is welded, and the pins of the usb socket must be separated and not short-circuited,red wire and black wire is connect to the motor, you can connect clockwise or counterclockwise according to your preference.test inadvance.
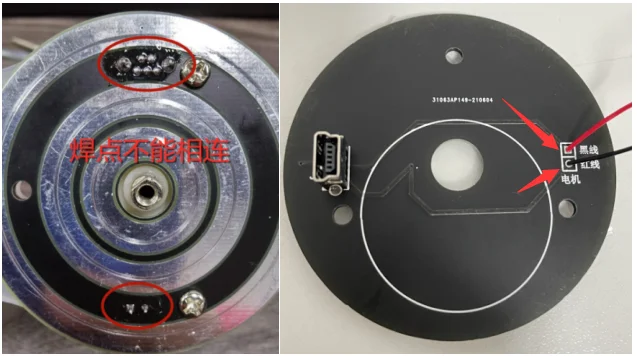
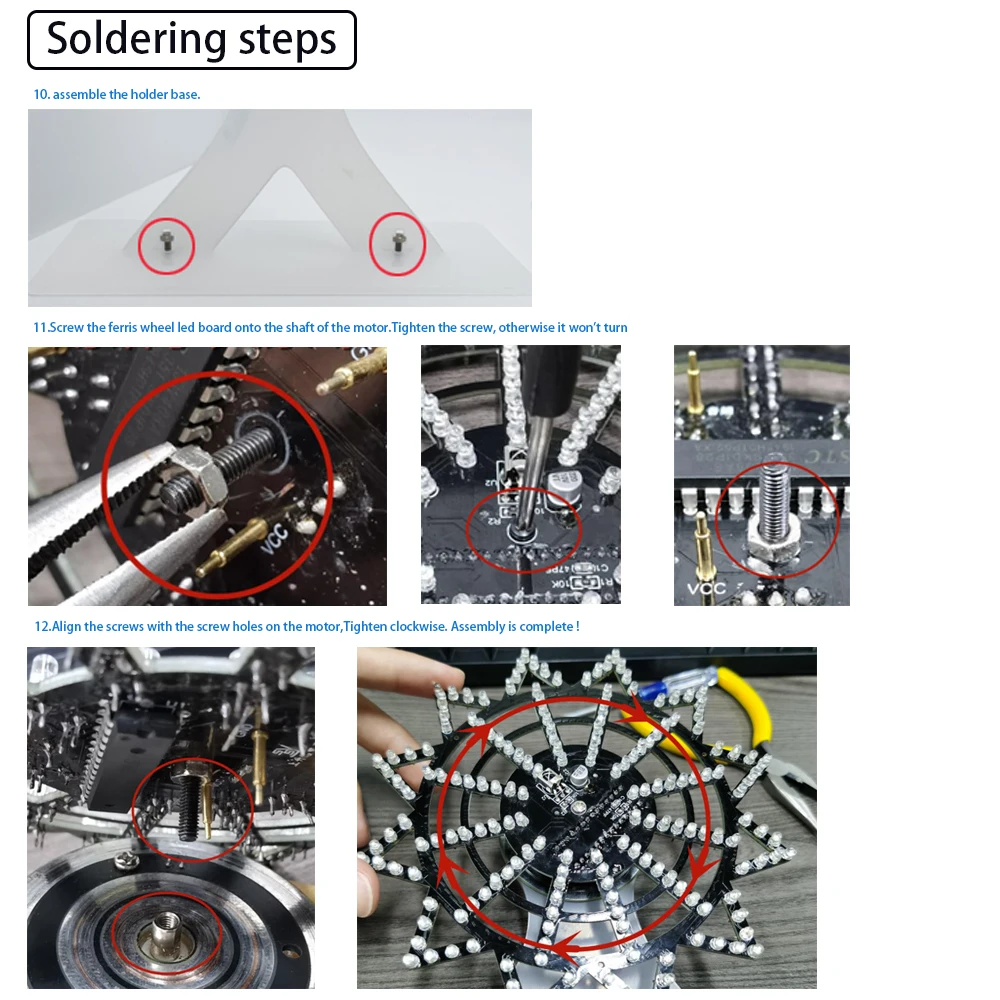
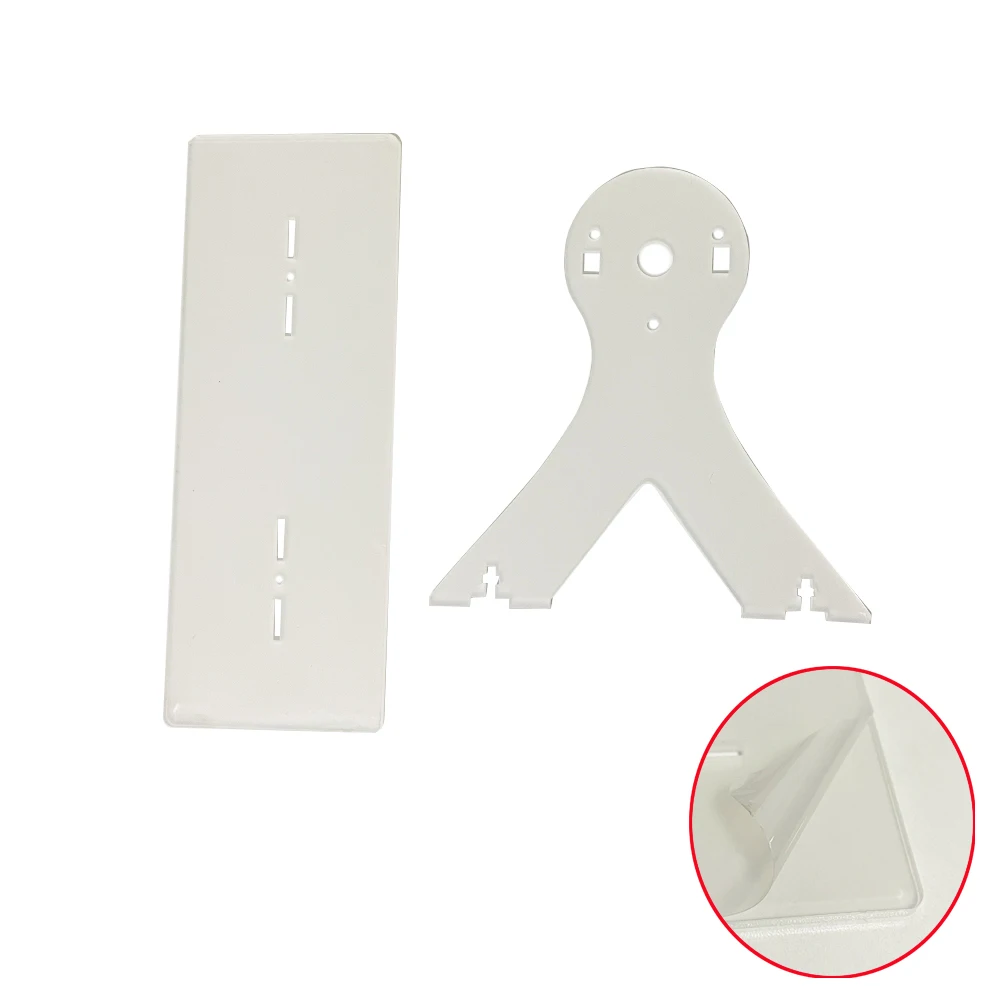
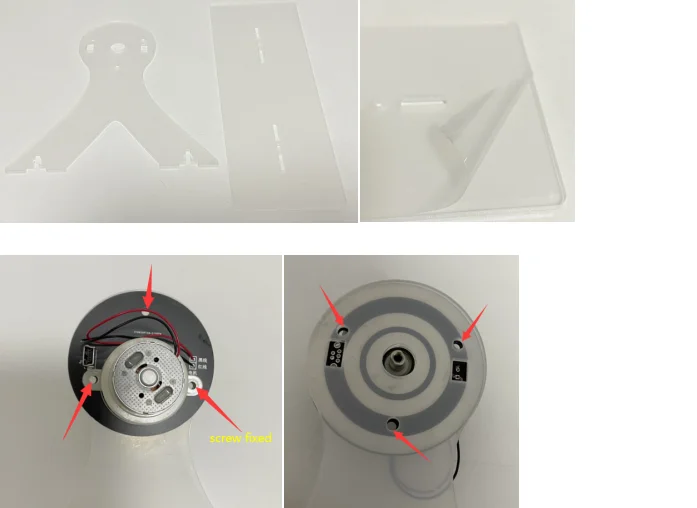
6.Assemble holder, first tear off the protective film on the shell,
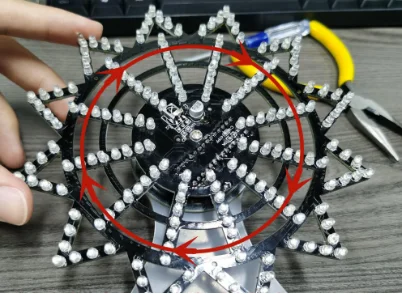
Screw the power supply board, motor, and casing together with screws, with the casing in the middle, insert the screws from the power supply board, and then use oil and other lubricating oil to add smoothness to the three silver circles
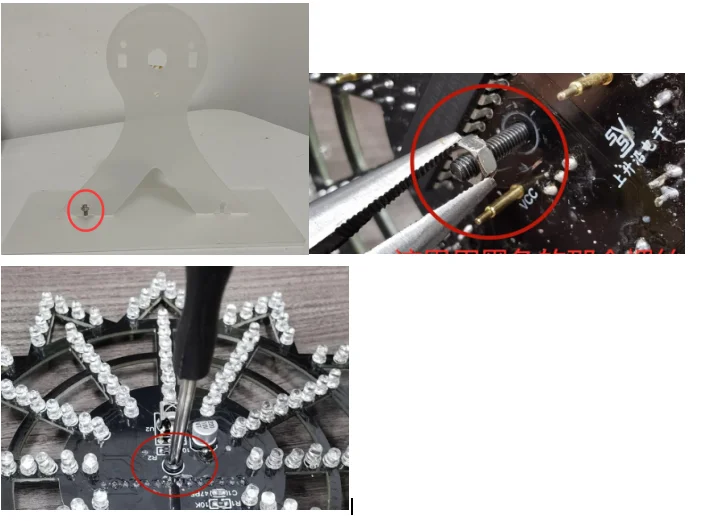
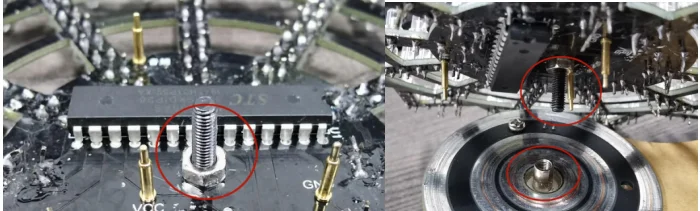

Quick take
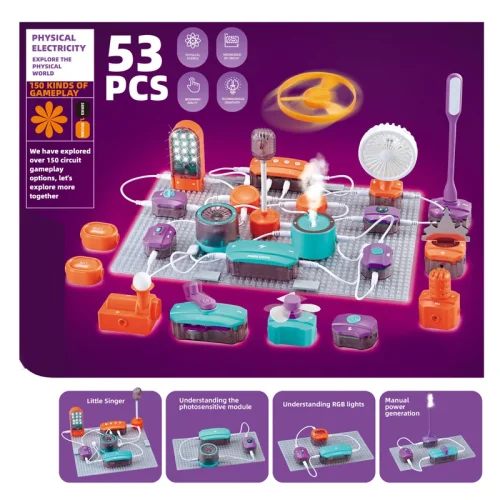
A teaching-first product: circuits, sensors, or optics presented as experiments rather than a finished gadget. It works best paired with a curious child and thirty quiet minutes.
- 75+ orders recorded on AliExpress
- 4.6★ average buyer rating
- $26.99 current price
Before you buy
Pricing and availability change constantly on AliExpress. The figures above were checked when this page was built; the button below goes to the live listing, where the seller’s current price, shipping options, and return policy apply.