
ROBOTICS PROJECT PATH
Start with control, not complexity
7 Arduino robot arm projects for beginners
A useful first robot arm should teach one new control idea at a time: servo position, coordinated movement, repeatable sequences, sensing, and finally simple automation.
Evidence note: This is an editorial project framework, not a claim that every listed kit includes the same controller, sensors, code, power supply, or gripper. Confirm the exact variant and documentation before buying. Product links may earn us a commission.
What a beginner robot arm kit needs
- A named Arduino-compatible controller or clearly documented control board.
- Enough servo channels for every joint and the gripper.
- A power source sized for the servos; do not assume the controller USB port can safely power the whole arm.
- Mechanical assembly instructions, wiring diagrams, example code, and a complete package list.
- A stable base and replaceable servos, horns, fasteners, and cables.
The seven-project progression
1. Calibrate one joint
Move one servo between conservative angle limits. Record the safe range before attaching a heavy linkage or forcing the joint against a stop.
2. Open and close the gripper
Program two reliable gripper positions and test them with light, soft objects. The goal is repeatability, not maximum clamping force.
3. Manual knob control
Map potentiometers or another supported controller to individual joints. This makes angle mapping, input noise, and motion limits visible.
4. Record and replay a motion
Save several joint positions, then replay them in sequence. Add a short delay or gradual interpolation so the motion is easier on the mechanism.
5. Pick and place
Combine base rotation, arm movement, and gripper control to move one lightweight object between two marked locations.
6. Add a sensor trigger
If the kit supports it, use a distance, color, or button input to start a stored movement. Keep sensing and arm power requirements documented separately.
7. Build a sorting challenge
Create two destinations and define a simple rule for choosing between them. The rule can start with buttons before progressing to supported sensors.
Common buying mistakes
- Buying a bare mechanical frame while expecting a complete programmable kit.
- Ignoring whether servos, controller, power supply, gripper, and fasteners are included in the selected variant.
- Choosing the most joints instead of the clearest instructions and software examples.
- Assuming “Arduino compatible” guarantees maintained code or official Arduino support.
- Using seller discount percentages as evidence of quality.
Power and supervision
Robot arms can pinch fingers and stalled servos can draw substantial current. Begin with lightweight objects, conservative angle limits, a stable base, adult supervision, and the power arrangement documented for the selected hardware.
Compare the current robot-arm options
Use the product profiles to compare joint count, controller claims, included hardware, marketplace evidence, and current price. Treat every marketplace specification as something to verify with the exact seller variant.
-
STEM Robot KitsView details
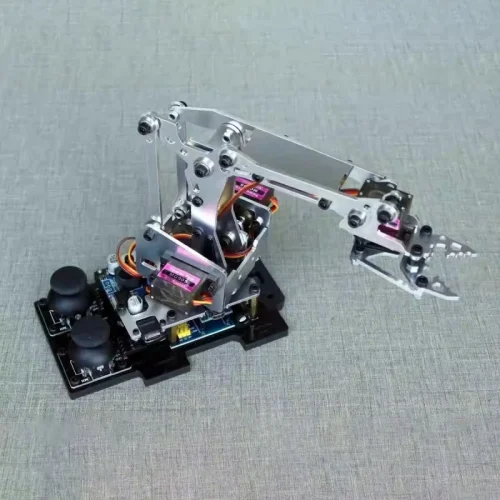
STEAM 4-DOF Arduino Robot Arm Kit
Original price was: $79.32.$47.59Current price is: $47.59. -
STEM Robot KitsView details
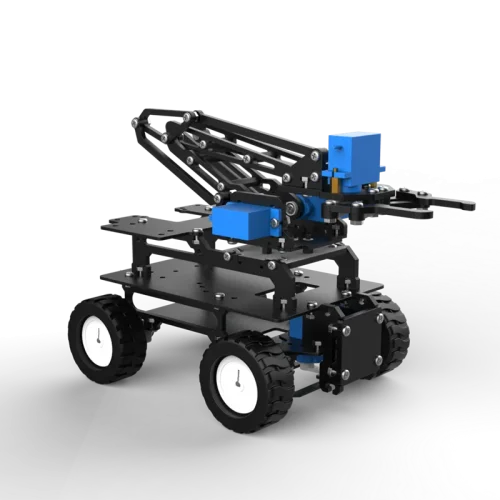
4WD Programmable Robot Car Kit
Original price was: $61.59.$26.48Current price is: $26.48. -
STEM Robot KitsView details
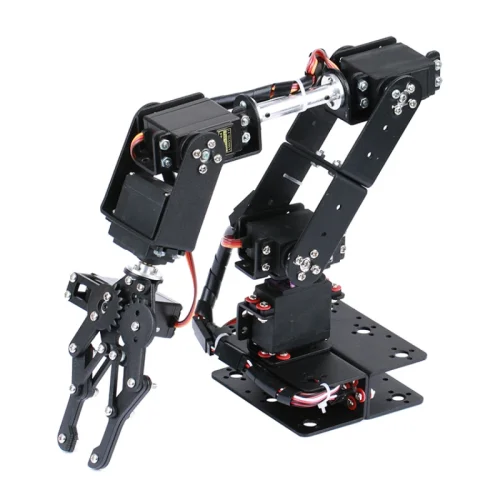
6-DOF Metal Robot Arm and Claw Kit
Original price was: $58.51.$25.16Current price is: $25.16. -
STEM Robot KitsView details
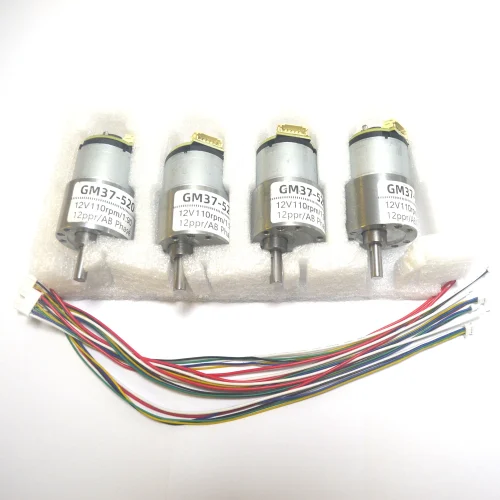
V3 Mecanum Wheel and Encoder Motor Robot Parts
Original price was: $80.07.$34.43Current price is: $34.43. -
STEM Robot KitsView details
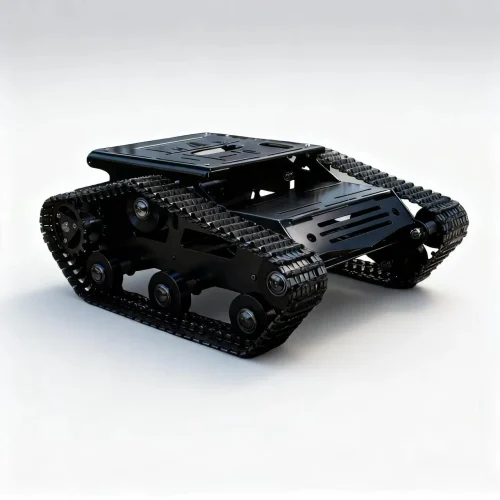
2WD Aluminum Robot Tank Chassis
Original price was: $110.73.$66.44Current price is: $66.44. -
STEM Robot KitsView details
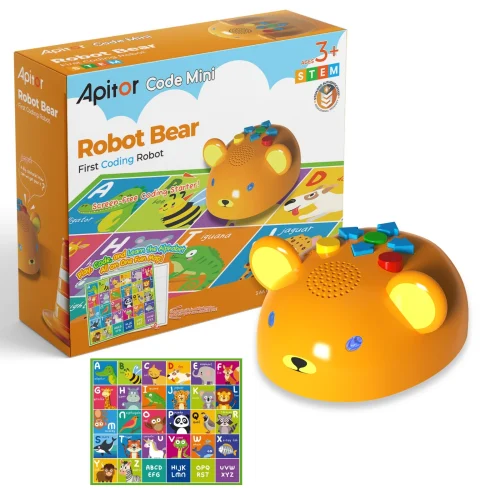
Apitor Coding Robot Bear STEM Toy
Original price was: $87.75.$39.13Current price is: $39.13.
Frequently asked questions
Is a 4-DOF or 6-DOF arm better for a beginner?
A well-documented 4-DOF arm is usually easier to assemble, power, calibrate, and debug. More joints add flexibility but also more wiring, current demand, and coordination work.
Can the Arduino board power all the servos?
Do not assume it can. Multiple servos commonly need a suitable external supply with a shared ground; follow the controller and servo documentation for the selected kit.
Do I need soldering?
That depends on the kit and connector system. Look for a complete wiring diagram and explicit soldering or tool requirements before ordering.